
Whether you’re a beginner or an experienced sewist, knowing how to properly assemble and use your sewing machine’s bobbin winder is essential for smooth stitching. A well-wound bobbin ensures even thread tension and prevents frustrating thread jams.
In this guide, we’ll walk you through the simple steps to assemble and operate a standard bobbin winder. Let’s get started!
Materials You’ll Need:
✔ A roll of thread (matching your project)
✔ An empty bobbin
✔ A screwdriver (if needed for tightening)
✔ Your sewing machine’s bobbin winder assembly
Step-by-Step Assembly & Operation
Step 1: Prepare the Thread & Bobbin
Select a high-quality thread that matches your fabric.
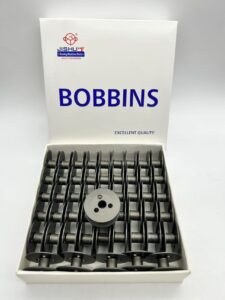
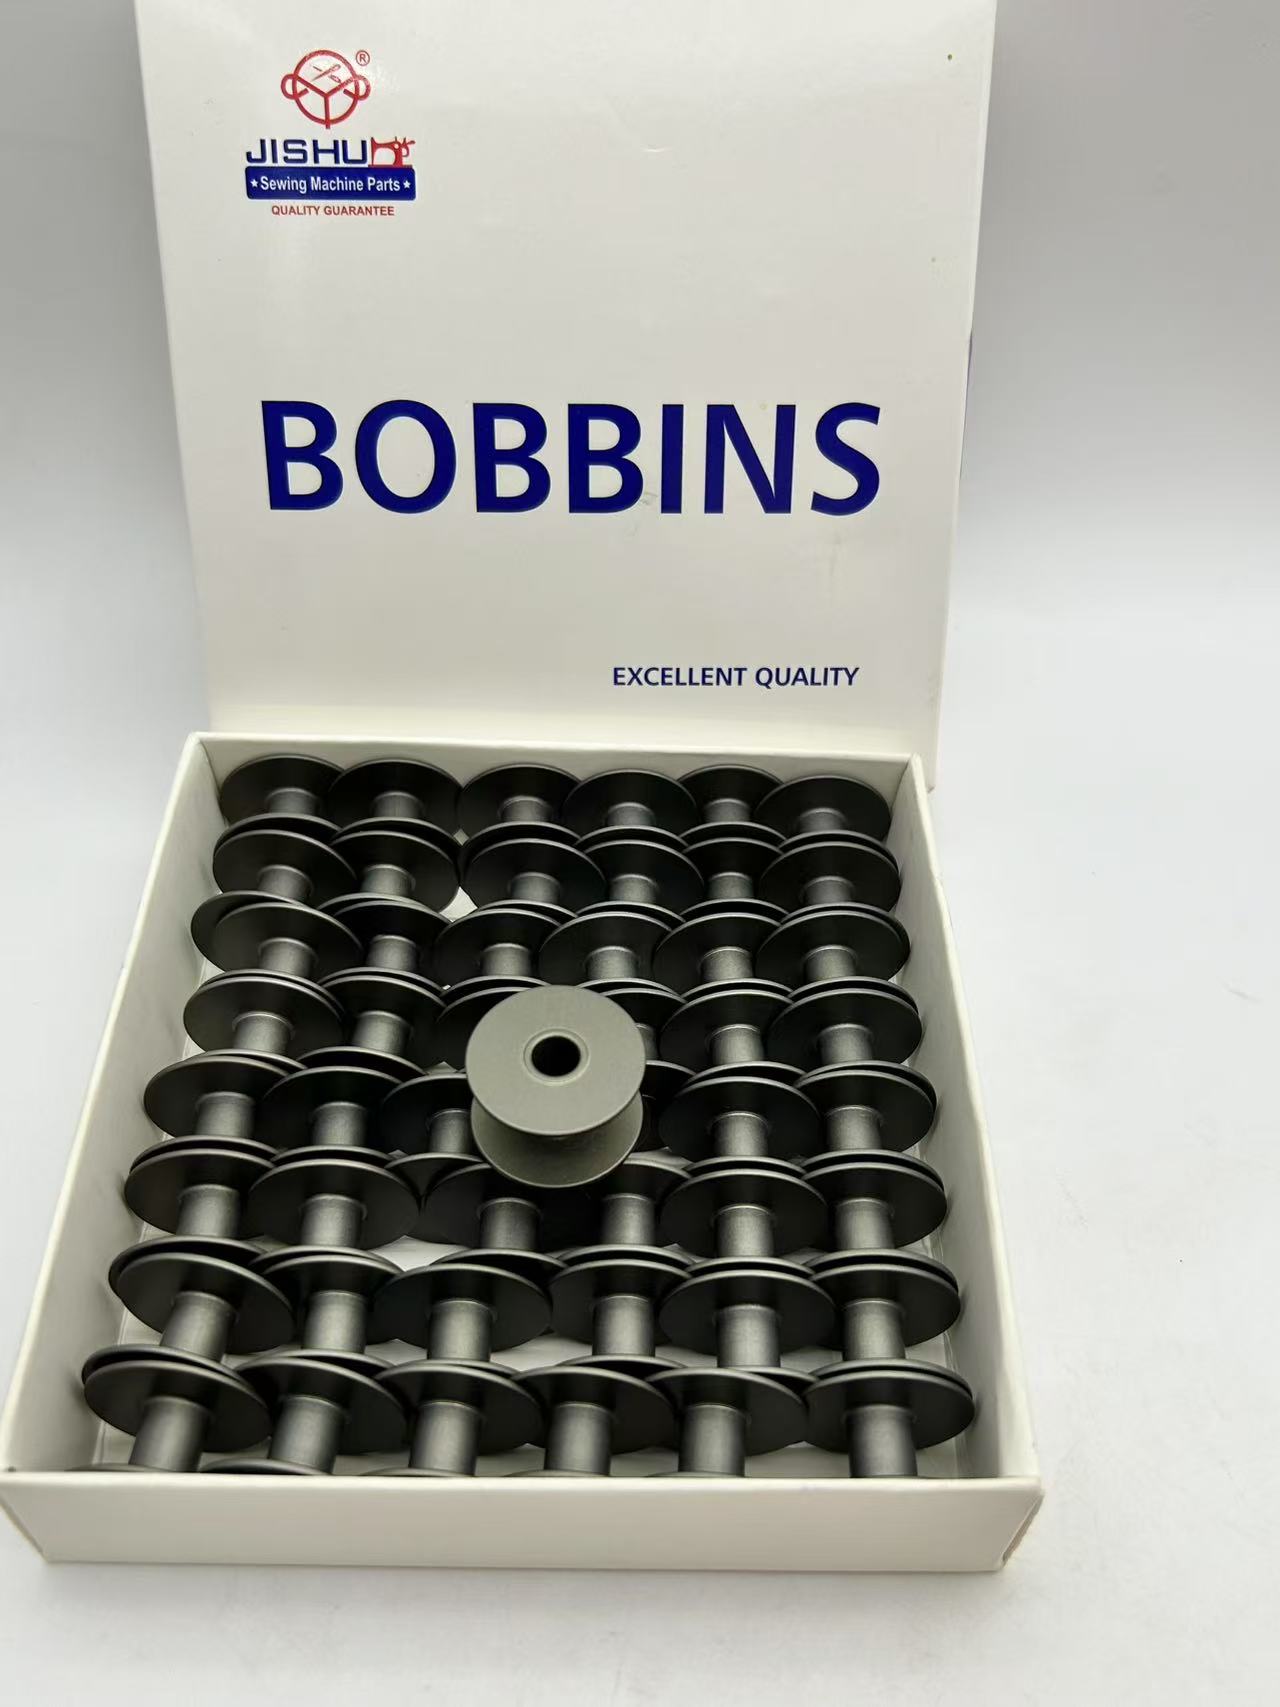
Take an empty bobbin (plastic or metal, depending on your machine).
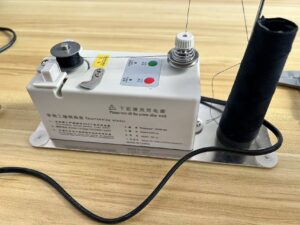
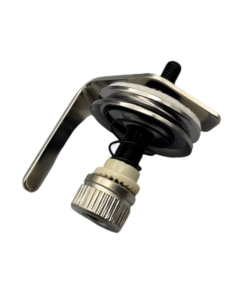
Step 2: Secure the Bobbin Winder on the Panel
Locate the bobbin winder assembly on your sewing machine (usually near the handwheel).
Tighten the screws at both ends to ensure the winder is firmly fixed to the panel.
Step 3: Assemble the Thread Stands
Attach the two thread stands (if separate) onto the operation panel.
Tighten the screws to secure them in place.
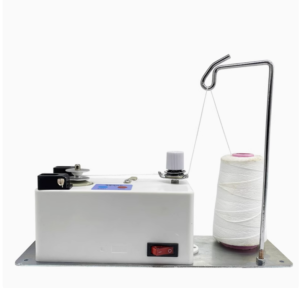
Step 4: Threading the Bobbin Winder
Place the thread roll on the thread stand.
Fix the empty bobbin onto the bobbin stand.
Pass the thread around the thread hook of the stand.
Guide it through the thread clamp (tension disc).
Wrap the thread 2-3 times around the bobbin manually to secure it.
Step 5: Start Winding the Bobbin
Turn on the winder switch (if electric).
Press the green start button (or engage the winder lever, depending on the model).
The bobbin will start spinning—hold the thread end for the first few turns to prevent slipping.
Once the bobbin is fully wound, the machine may stop automatically (or you can stop it manually).
Pro Tips for Perfect Bobbin Winding
✅ Maintain Proper Tension – Ensure the thread passes correctly through the tension disc to avoid loose or tight winding.
✅ Don’t Overfill – Stop when the bobbin is about 80-90% full to prevent jamming.
✅ Check Alignment – If the bobbin wobbles while winding, reposition it to ensure smooth operation.
Troubleshooting Common Issues
🔹 Thread Not Winding? → Check if the winder is fully engaged or if the thread is slipping.
🔹 Uneven Bobbin? → Adjust the thread tension or rethread the winder.
🔹 Winder Not Spinning? → Ensure the screws are tight and the motor is functioning.
Final Thoughts
Assembling and using a bobbin winder is a quick and easy process once you know the steps. By following this guide, you’ll ensure smooth, tangle-free bobbin winding every time—saving you time and frustration in your sewing projects!
Happy Sewing! 🧵✨
Would you like a video tutorial or more details on a specific sewing machine model? Let me know in the comments! 😊


One Response
This works for me, I learned how to use this cable winder